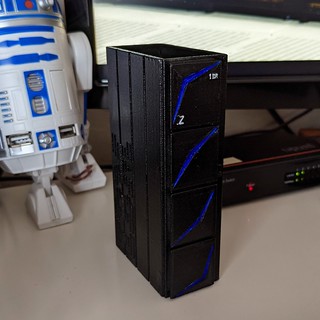
Back in April as I was catching up with work following my maternity leave, I discovered the existence of some internal IBM 3D printer files for IBM z15 pencil holders. I was immediately intrigued, and quickly found a 3D printer company that would print one for me.
As a quick aside, I learned about 3D printing services because one of the hobbies I wish I had time for is model railroading, so much so that I subscribe to a monthly model railroad magazine. Model railroad combines my interest in small electronics, Arduino type boards, 3D printing, and love for trains, so it’s a fascinating hobby that puts a bunch of the things I’d love to do into one package. In reading about model trains, there’s a lot of talk about “scratch” building of custom things for your model railroad layout. One of the things that makes this easier for model railroaders is 3D printer companies who will print, on demand, various parts for their scratch built items. Suddenly a world opened up for me. As much as I’d love to have a 3D printer, the truth is I have a lot of interests, a couple of small children, and very little free time. Until the kids are older, my options are limited. I had to seek out a 3D printing outfit if I wanted to print my z15 pencil holder, and so I did!
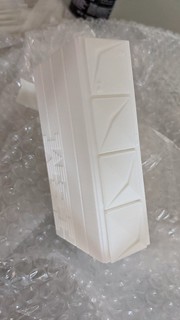
I went with Xometry because their quote process was simple and I didn’t need to research materials and whatnot. Since this was essentially a display item, I didn’t have many material requirements, and I figured this would just be the first of many baby mainframe models I’d be ordering. I ordered my model on April 15th, picked the slowest manufacture and delivery option (knowing I’d be taking a couple weeks off from work) and it arrived on April 23rd, much more quickly than I expected!
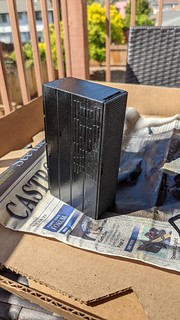
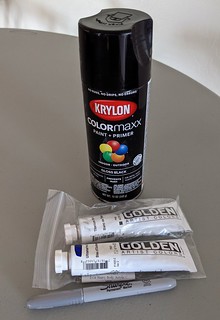
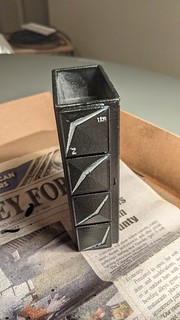
Since it arrived white, and we all know that IBM Z systems are black, my first step was painting it. I started with Krylon COLOR maxx spray paint in glossy black. When I do this again, I may see about getting it printed in black, because while this was not a very difficult step, the paint was strong-smelling and because I was rushing a bit (remember, 2 small kids at home!) I did end up with some drips.
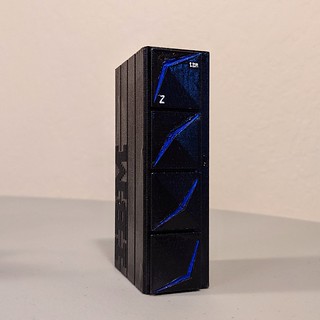
From there, I went with a couple 2 oz tubes of Golden Artist Colors acrylic paints, one in Titanium White and another in Ultramarine Blue. Now that’s almost certainly not the exact blue of the z15 system, but it wasn’t bad!
I did some tests with the acrylic paints, and with the black base the white came out great, but the blue was too dark. So I was able to paint the “Z” and the “IBM” logos in white (though I believe strictly speaking the IBM logo should probably be silver?), and then the insets in the doors I first had to paint white.
From there, the coat of blue went on. I quickly learned that precision painting is a skill, and one I lack, even with a generic set of tiny paintbrushes. And again, I didn’t take as much time as perhaps I should have, because I was working on this in the naps and quiet time I had to myself between caring for the little ones!
Ultimately, this was super fun. But my next task? Getting permission to release these 3D printed files to the public, because I knew that my fellow fans of Z would be chomping at the bit to have one once I shared it. It took some time and being redirected to a few people, but I found the people I needed. They made a few adjustments to make it more in line with the design of the prototype, including closing the top. The design remains proprietary, but I secured the rights to share the file in public for anyone who wants to 3D print their own z15! You can hop over to the Fans of Z community where I posted this blog post: Print your own IBM z15 Model!.
I think my next project will be getting one print with this file. And do feel free reach out to me if you want to collaborate, or are interested in the original pencil holder files, and I’ll see what I can do. I’ve just started playing around with stl editors, so I have a ton to learn.

