
A lot of my friends have 3D printers. It’s one of those things you get when you’re existing in a geeky world of Makers and have a fascination with how things work and assembling things yourself. The fact that MJ and I didn’t have one was a bit unusual, actually. The reasons were legion. First, we didn’t have space for one in our small condo in San Francisco. Then we moved to a big house, but immediately had kids who took up basically all of our previously free time. Now that the kids are a little more self-sufficient, AND they can kind of get into 3D printing too, we decided it was time to pull the trigger.
All the research and purchasing was done by MJ. I think the daunting number of options was a bit overwhelming to me, and if we waited for me to do the research we wouldn’t have landed on a very good result, if we ever got there. He decided that based on our time and experience (both minimal) plus the desire to print things up to basic engineering parts, meant that the Bambu H2D was the right model for us. We also bought a mountain of filament. It’s topped with a 4-color AMS Pro 2 and an AMS HT.
The whole thing is terrifying to me. Hah! I don’t want to break it. So I’m following MJ’s lead here as he shows me how load and dry filament, change nozzles, and do some basic things from the UI on the printer itself. Thus far I haven’t worked up the courage to use Bambu Studio and print something by myself, but I’m sure I’ll get there. Plus, it gives MJ the opportunity to play with it first while I endlessly send him silly things to print for me and the boys.
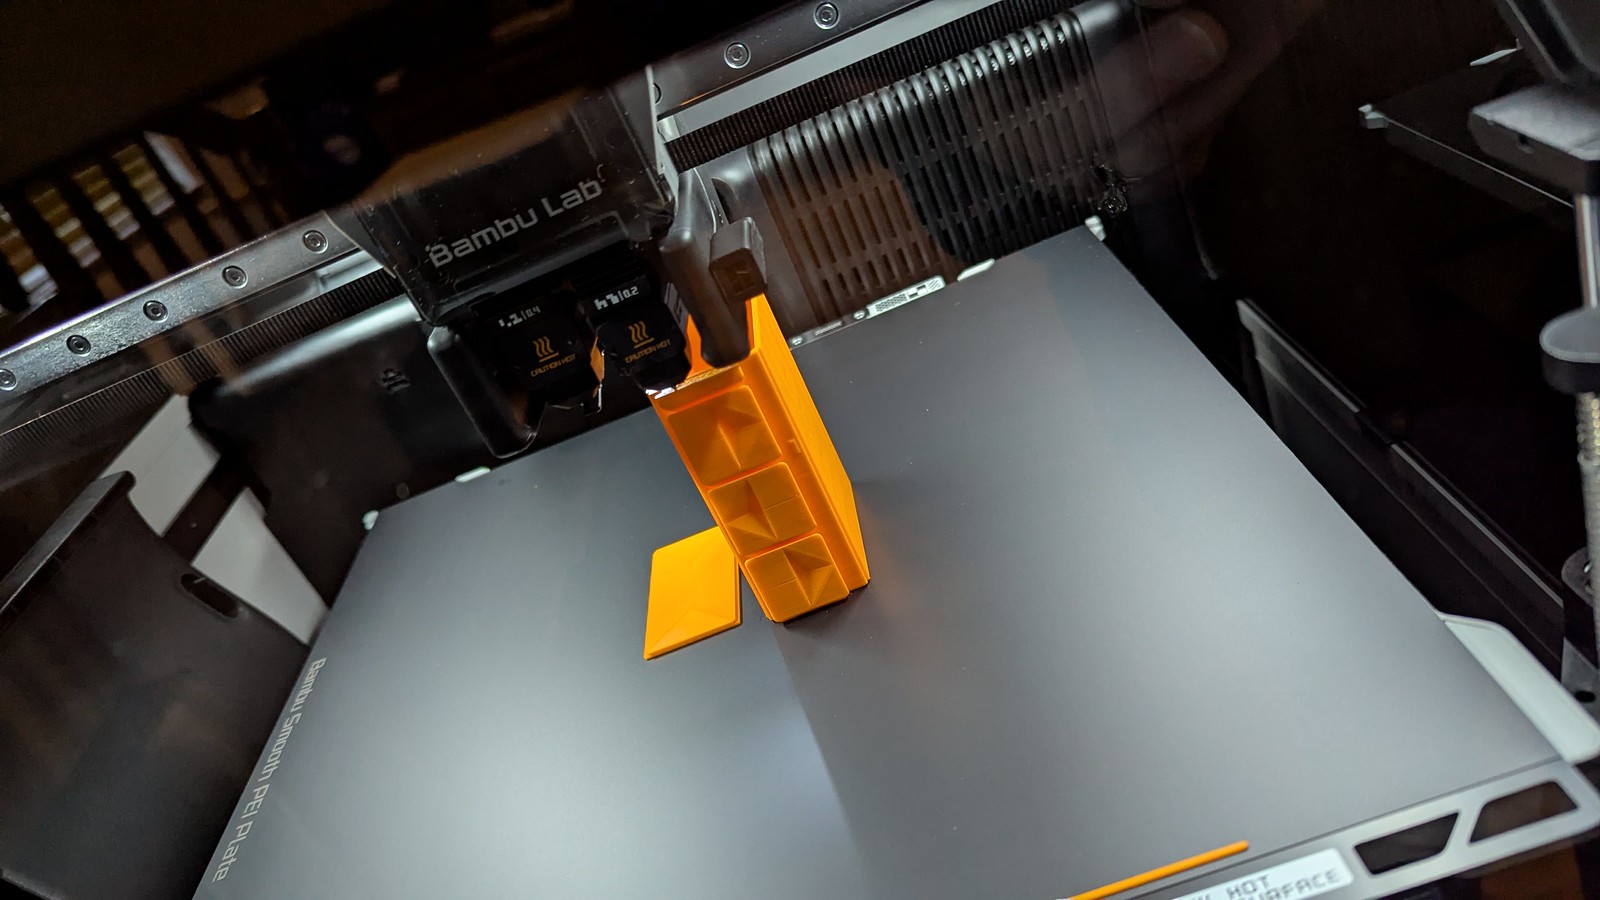
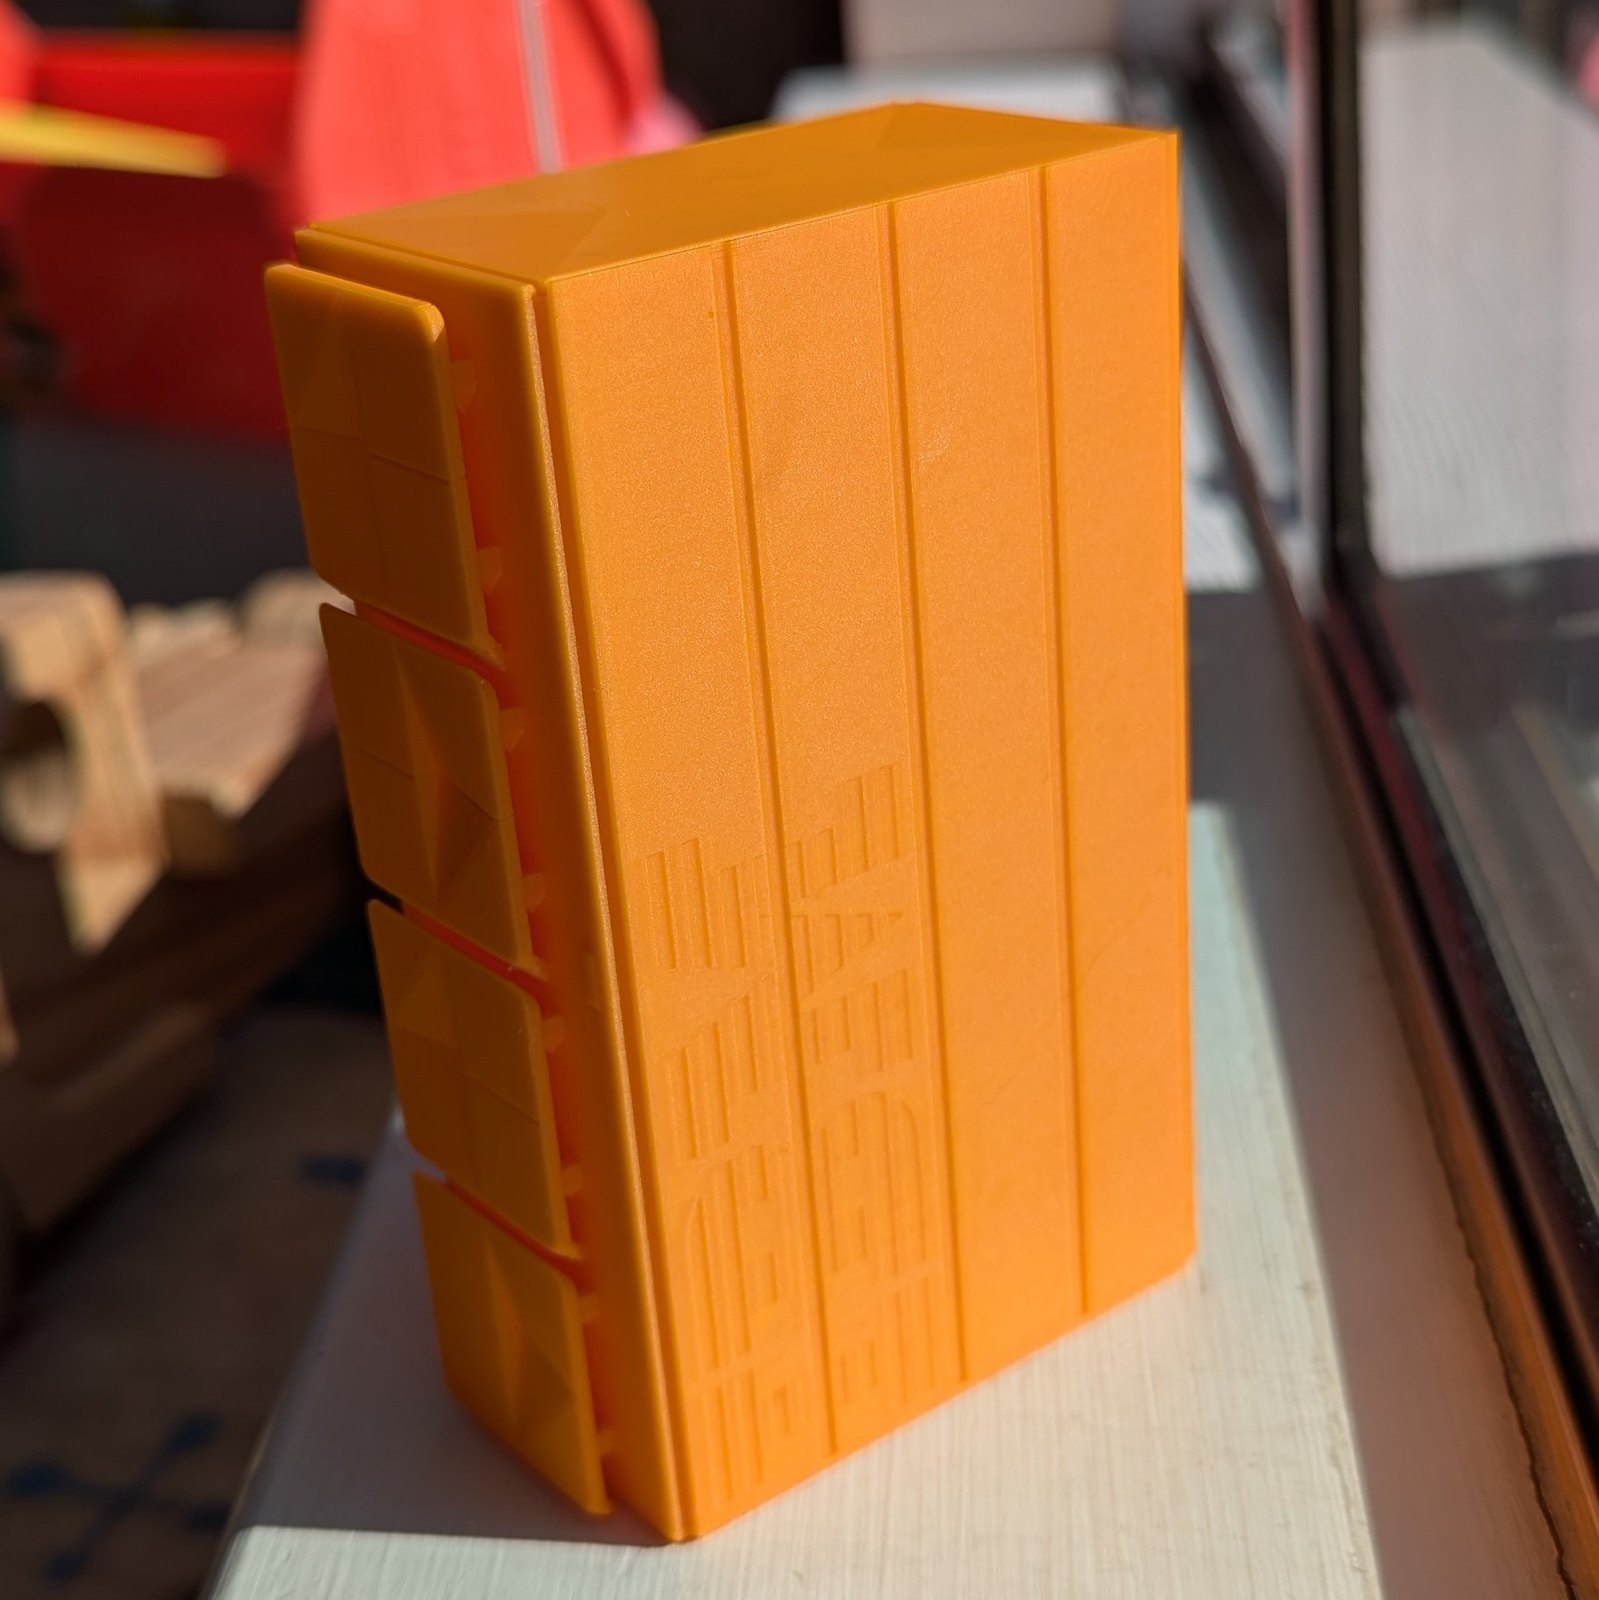
Obviously, I started off with an IBM z17 mainframe model. We switched to the 0.2mm nozzle and did a long, slow print for the first one, all orange, to see how stunning we could make it. And stunning it was.
We’ve also tried a few other prints of the z17, like an all black one, playing with orientation, and also playing with multi-color so we could print the inset colors on the doors. We’ve had varying levels of success, but it was a fun model for MJ to experiment with new things on the printer as we get going.
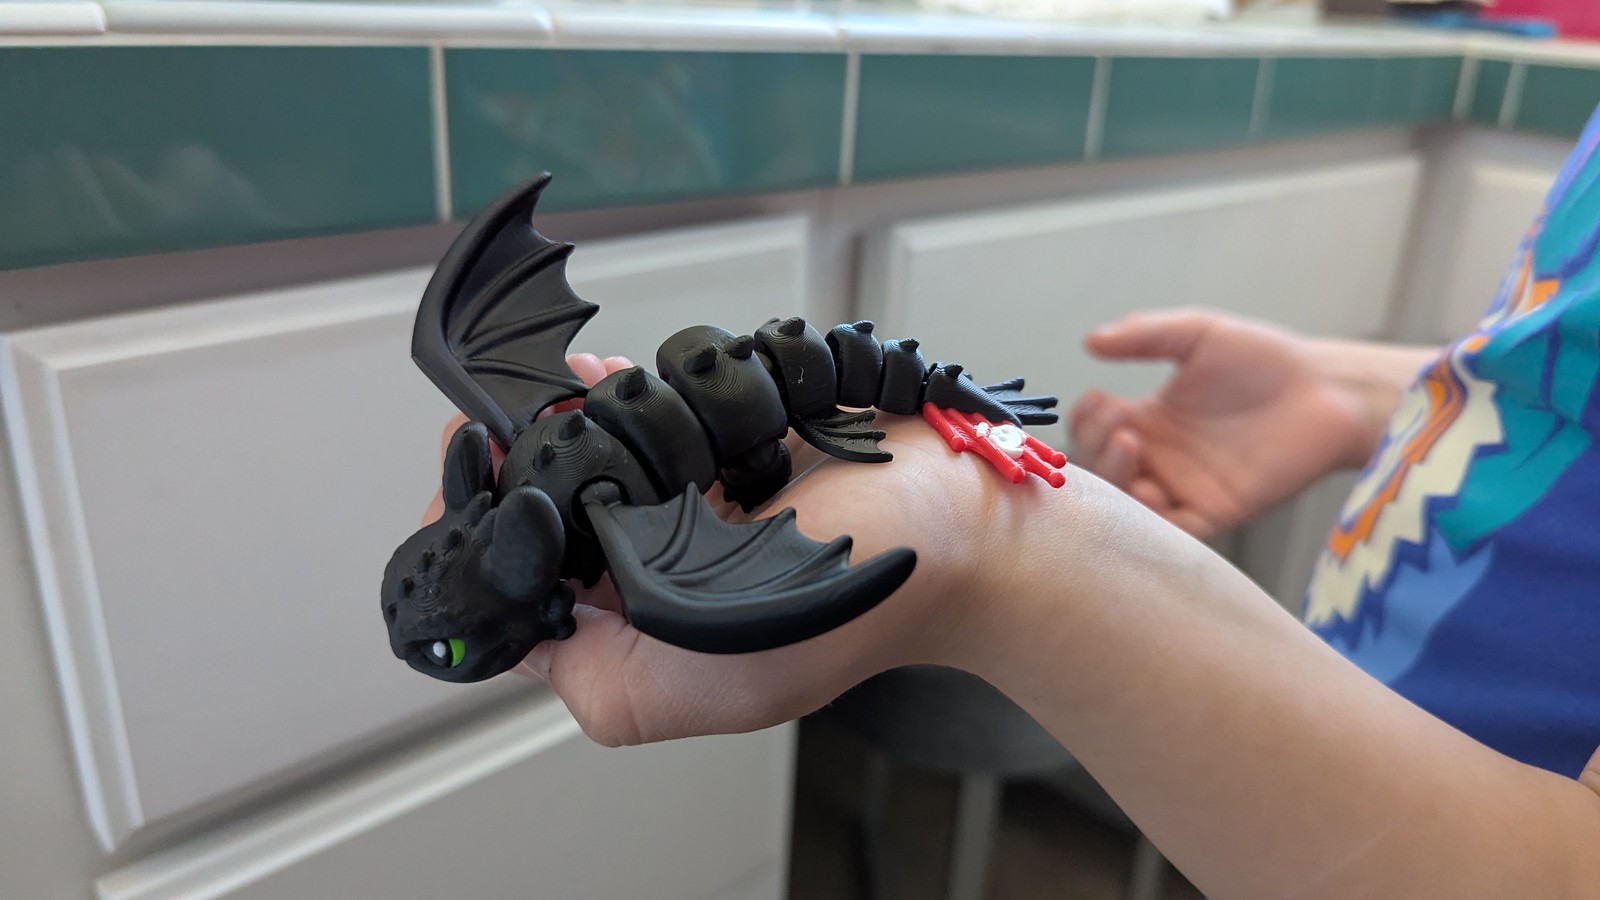
Our youngest, Aaron, believes we got a 3D printer just to print toys for him. Over the summer he found a 3D-printed Toothless dragon at a toy shop and MJ got to chatting with the guy at the shop who printed them, going full 3D printer geek mode. Instead of buying one, we bought the printer file so we could do one of our first proper multicolor prints, and it came out beautifully! It’s one of my favorite things so far. I want one too.
Adam has followed in my love of stuff from the 80s somehow (poor kid) and has asked for stuff from Tron and Knight Rider. There’s limited real merchandise for both, even with the latest Tron: Ares film, but the 3D printing world is the right kind of people for finding this sort of thing.
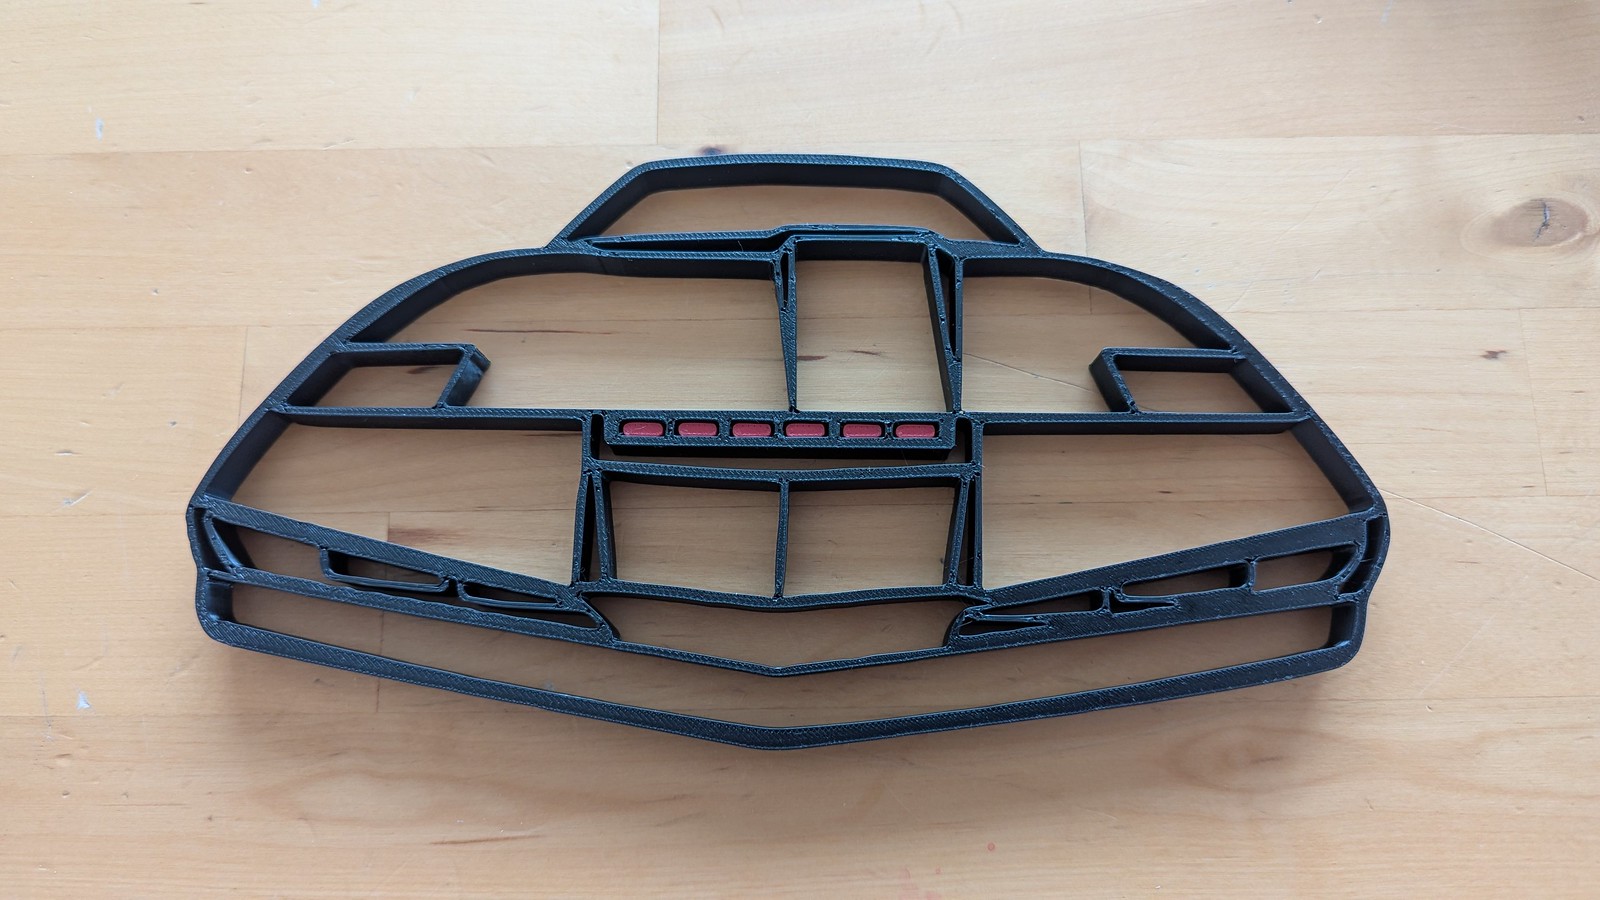
First up was a “wireframe” type wall art of KITT the car from Knight Rider, using this model as a starting point: KITT Night Rider 2D wallart. MJ loaded it up in an editor and modified it so the print would be done with both red and black, instead of separate pieces. Neat. If we did it again, we’d probably do it face-down so the part that faces outwards is the one with the cooler looking surface.
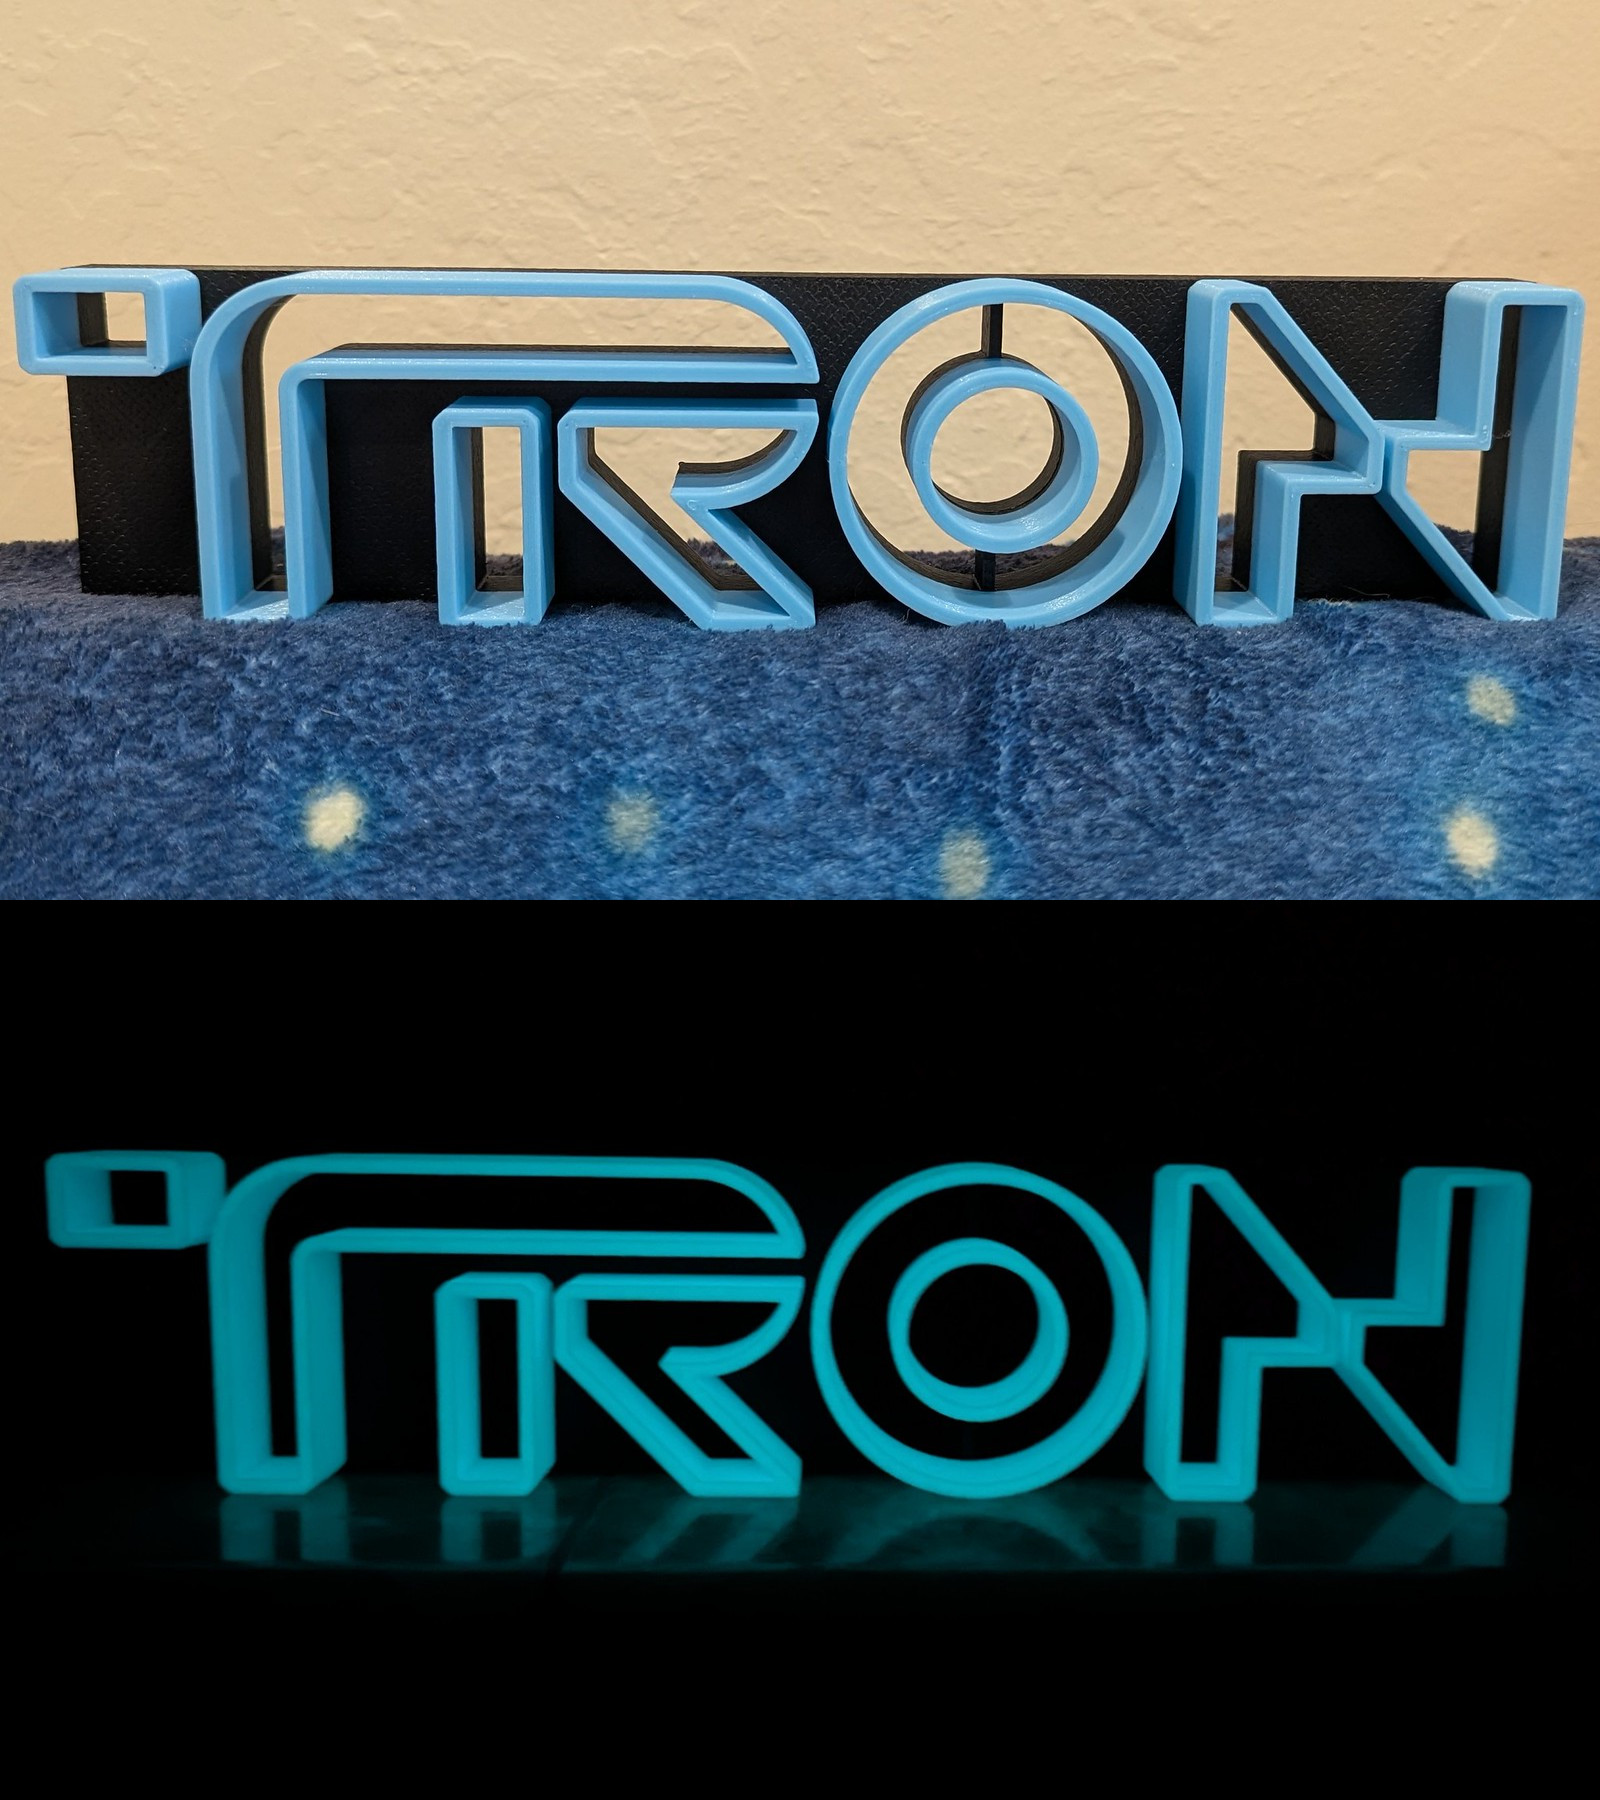
Next up: Tron! We bought some glow in the dark filament, so this was a nice opportunity to give it a spin. We went with “Version 2” of this Tron Legacy Logo. No edits on this one, it just came out looking really cool!
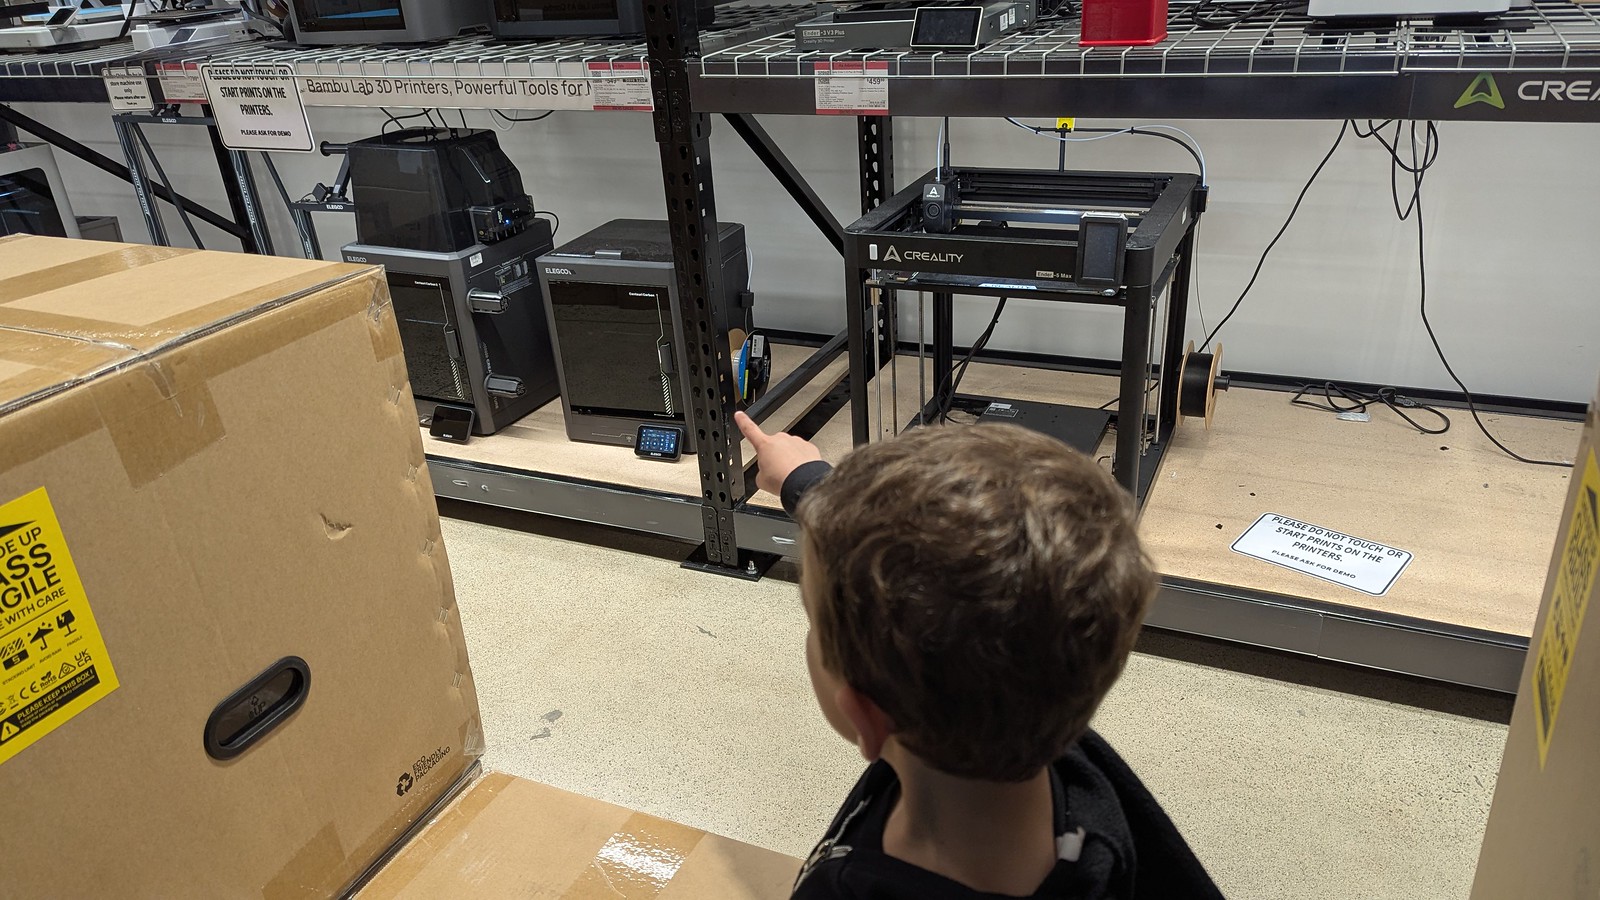
Our next step was making a bit of a pilgrimage: to Microcenter. I have never been to the Microcenter here in the bay area, though I used to go to the one just outside of Philly. It was a great store for computer stuff, but these days it’s also a great spot for 3d printing stuff. The boys also wanted to go to see EVERYTHING. They have several models of 3D printers on display, and staff will help with demos if you ask.
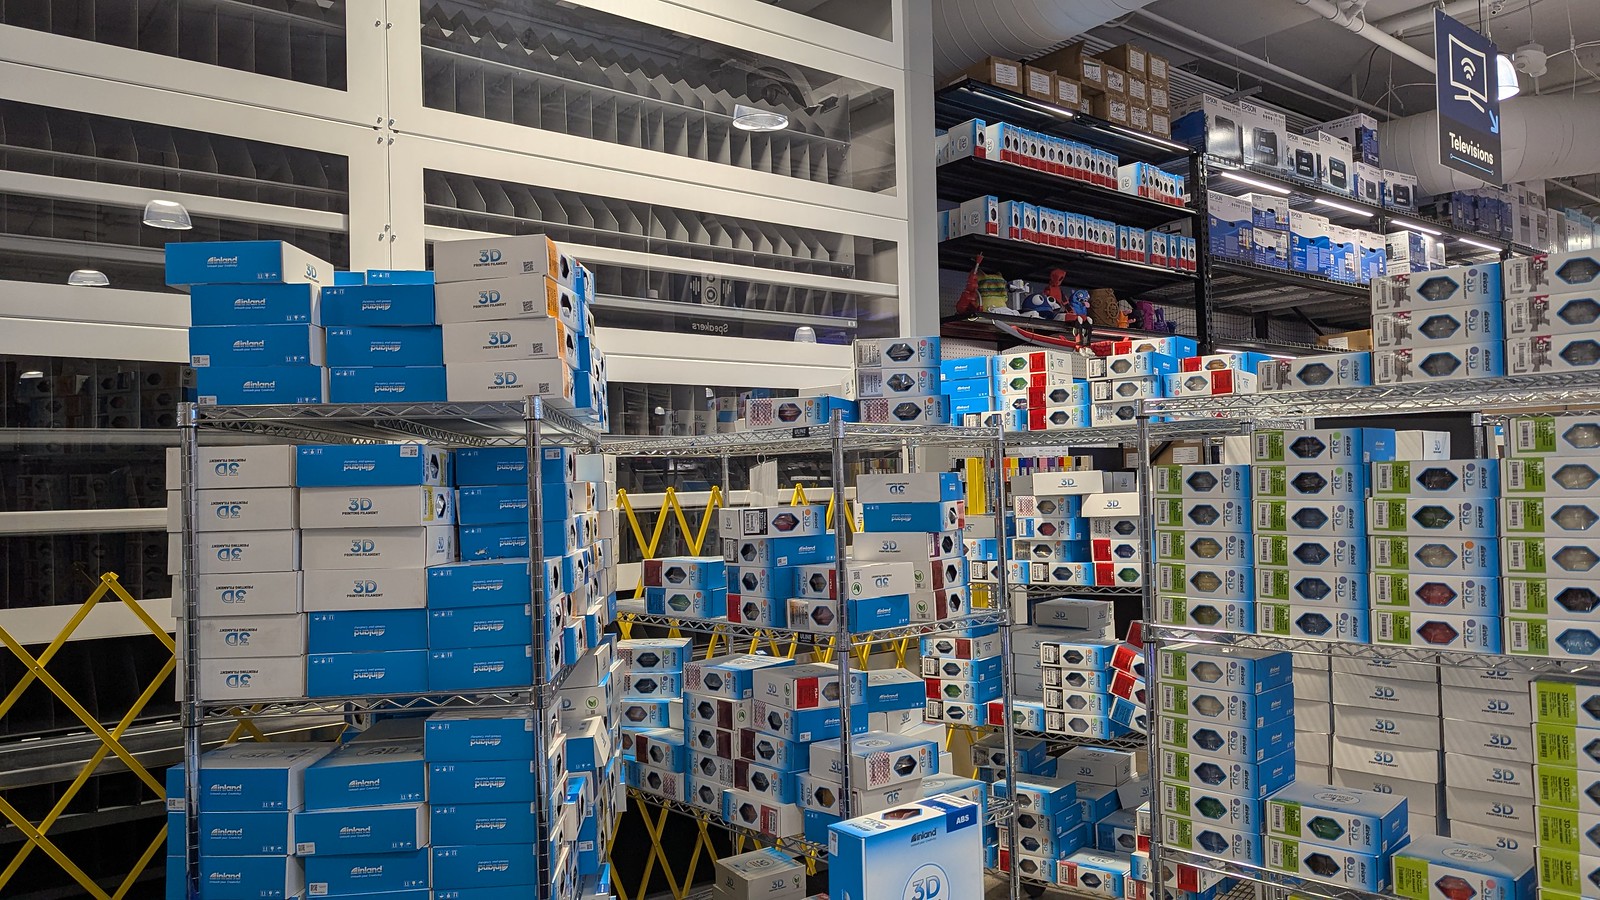
They also have a massive machine that dispenses filament, when it works. That day was not a day it was working, which was kind of a bummer. Not just because I wanted to see the giant filament vending machine work, but also because their alternative was manual searching through hundreds of spools of filament on a series of carts, yikes! It was mostly a fun trip, so I got a couple PLA+ filaments I wanted for a project and then got some goofy PLA ones (sparkles!). At least the PLA+ was on sale.
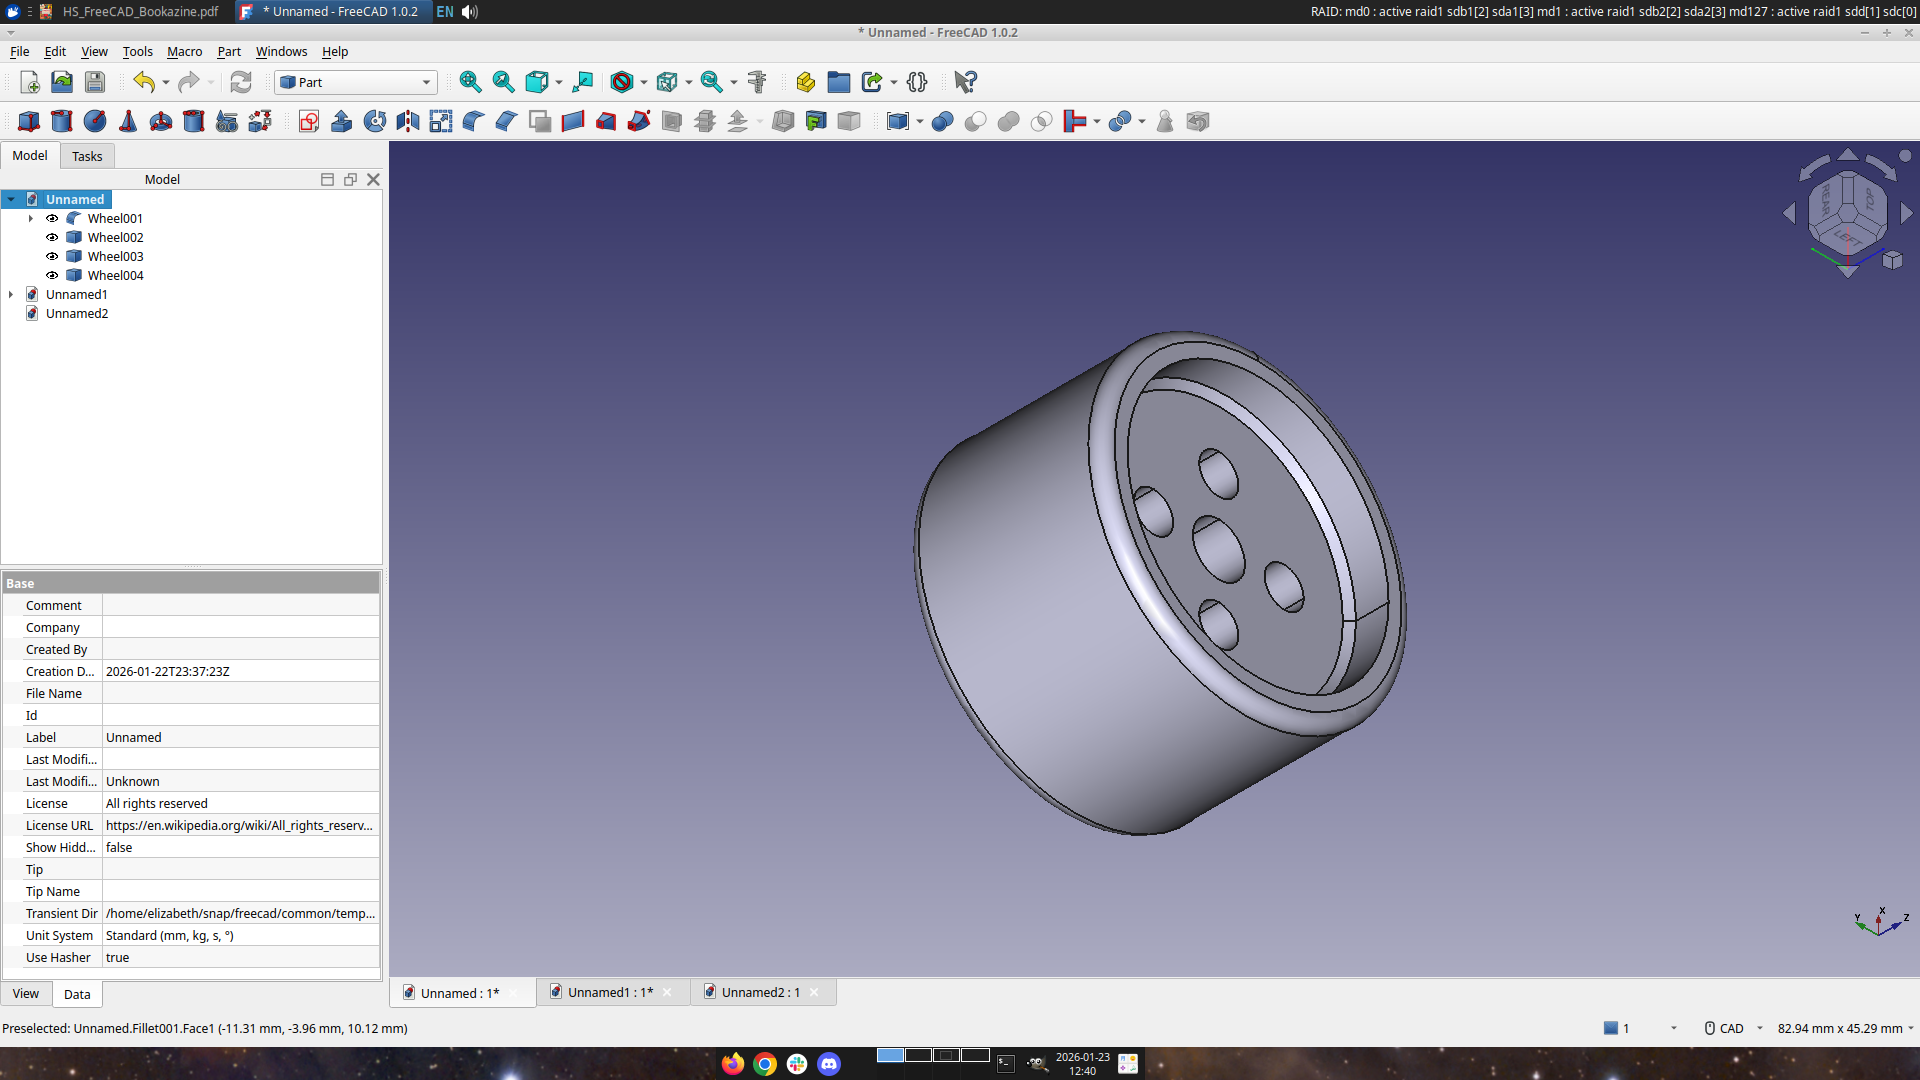
I’ve started learning how to use FreeCAD, because there are some things I want to eventually design, like a replacement ribbon cover for one of my portable typewriters. It’s slow going, but thanks to a recommendation from Mark Fraser I’m well on my way with FreeCAD for Makers.
Next up: A big project! I was pretty excited to learn that someone had 3D printed a clone of the AEG Mignon Index Typewriter. They say it’s the first typewriter someone has made using 3D printing, and I don’t own an index typewriter, so I thought it would be a fun merging of worlds. It’s over 100 pieces though, so I’ve once again dragged MJ into my project and I’ve been going through the files and picking colors and order of print while he’s loading them up in the slicer. Stay tuned! It’s going to be really cool. I hope.
And maybe I’ll gather the courage to use Bambu Lab and print something all by myself.