
This week I had the opportunity to attend PyCon for the first time. Since beginning to use Python in my systems work so much last year, I’ve had increasing interest in participating in this conference in some capacity, so when the opportunity came around at work to staff the HP booth here in Montreal I was happy to volunteer.
I was also brought to PyCon to be a Teaching Assistant for the Build your own PiDoorbell ! – Learn Home Automation with Python with fellow CodeChix members Rupa Dachere, Akkana Peck, Deepa Karnad Dhurka, Serpil Bayraktar and Stuart Easson.
We spent several weeks preparing for this tutorial. I made the trek down to Palo Alto twice to attend mini-sprints so we could test out the instructions in person prior to the event. We were able to add a number of improvements to both the code and documentation through these events and worked out some of the logistical issues of doing such a hardware event at a conference venue.
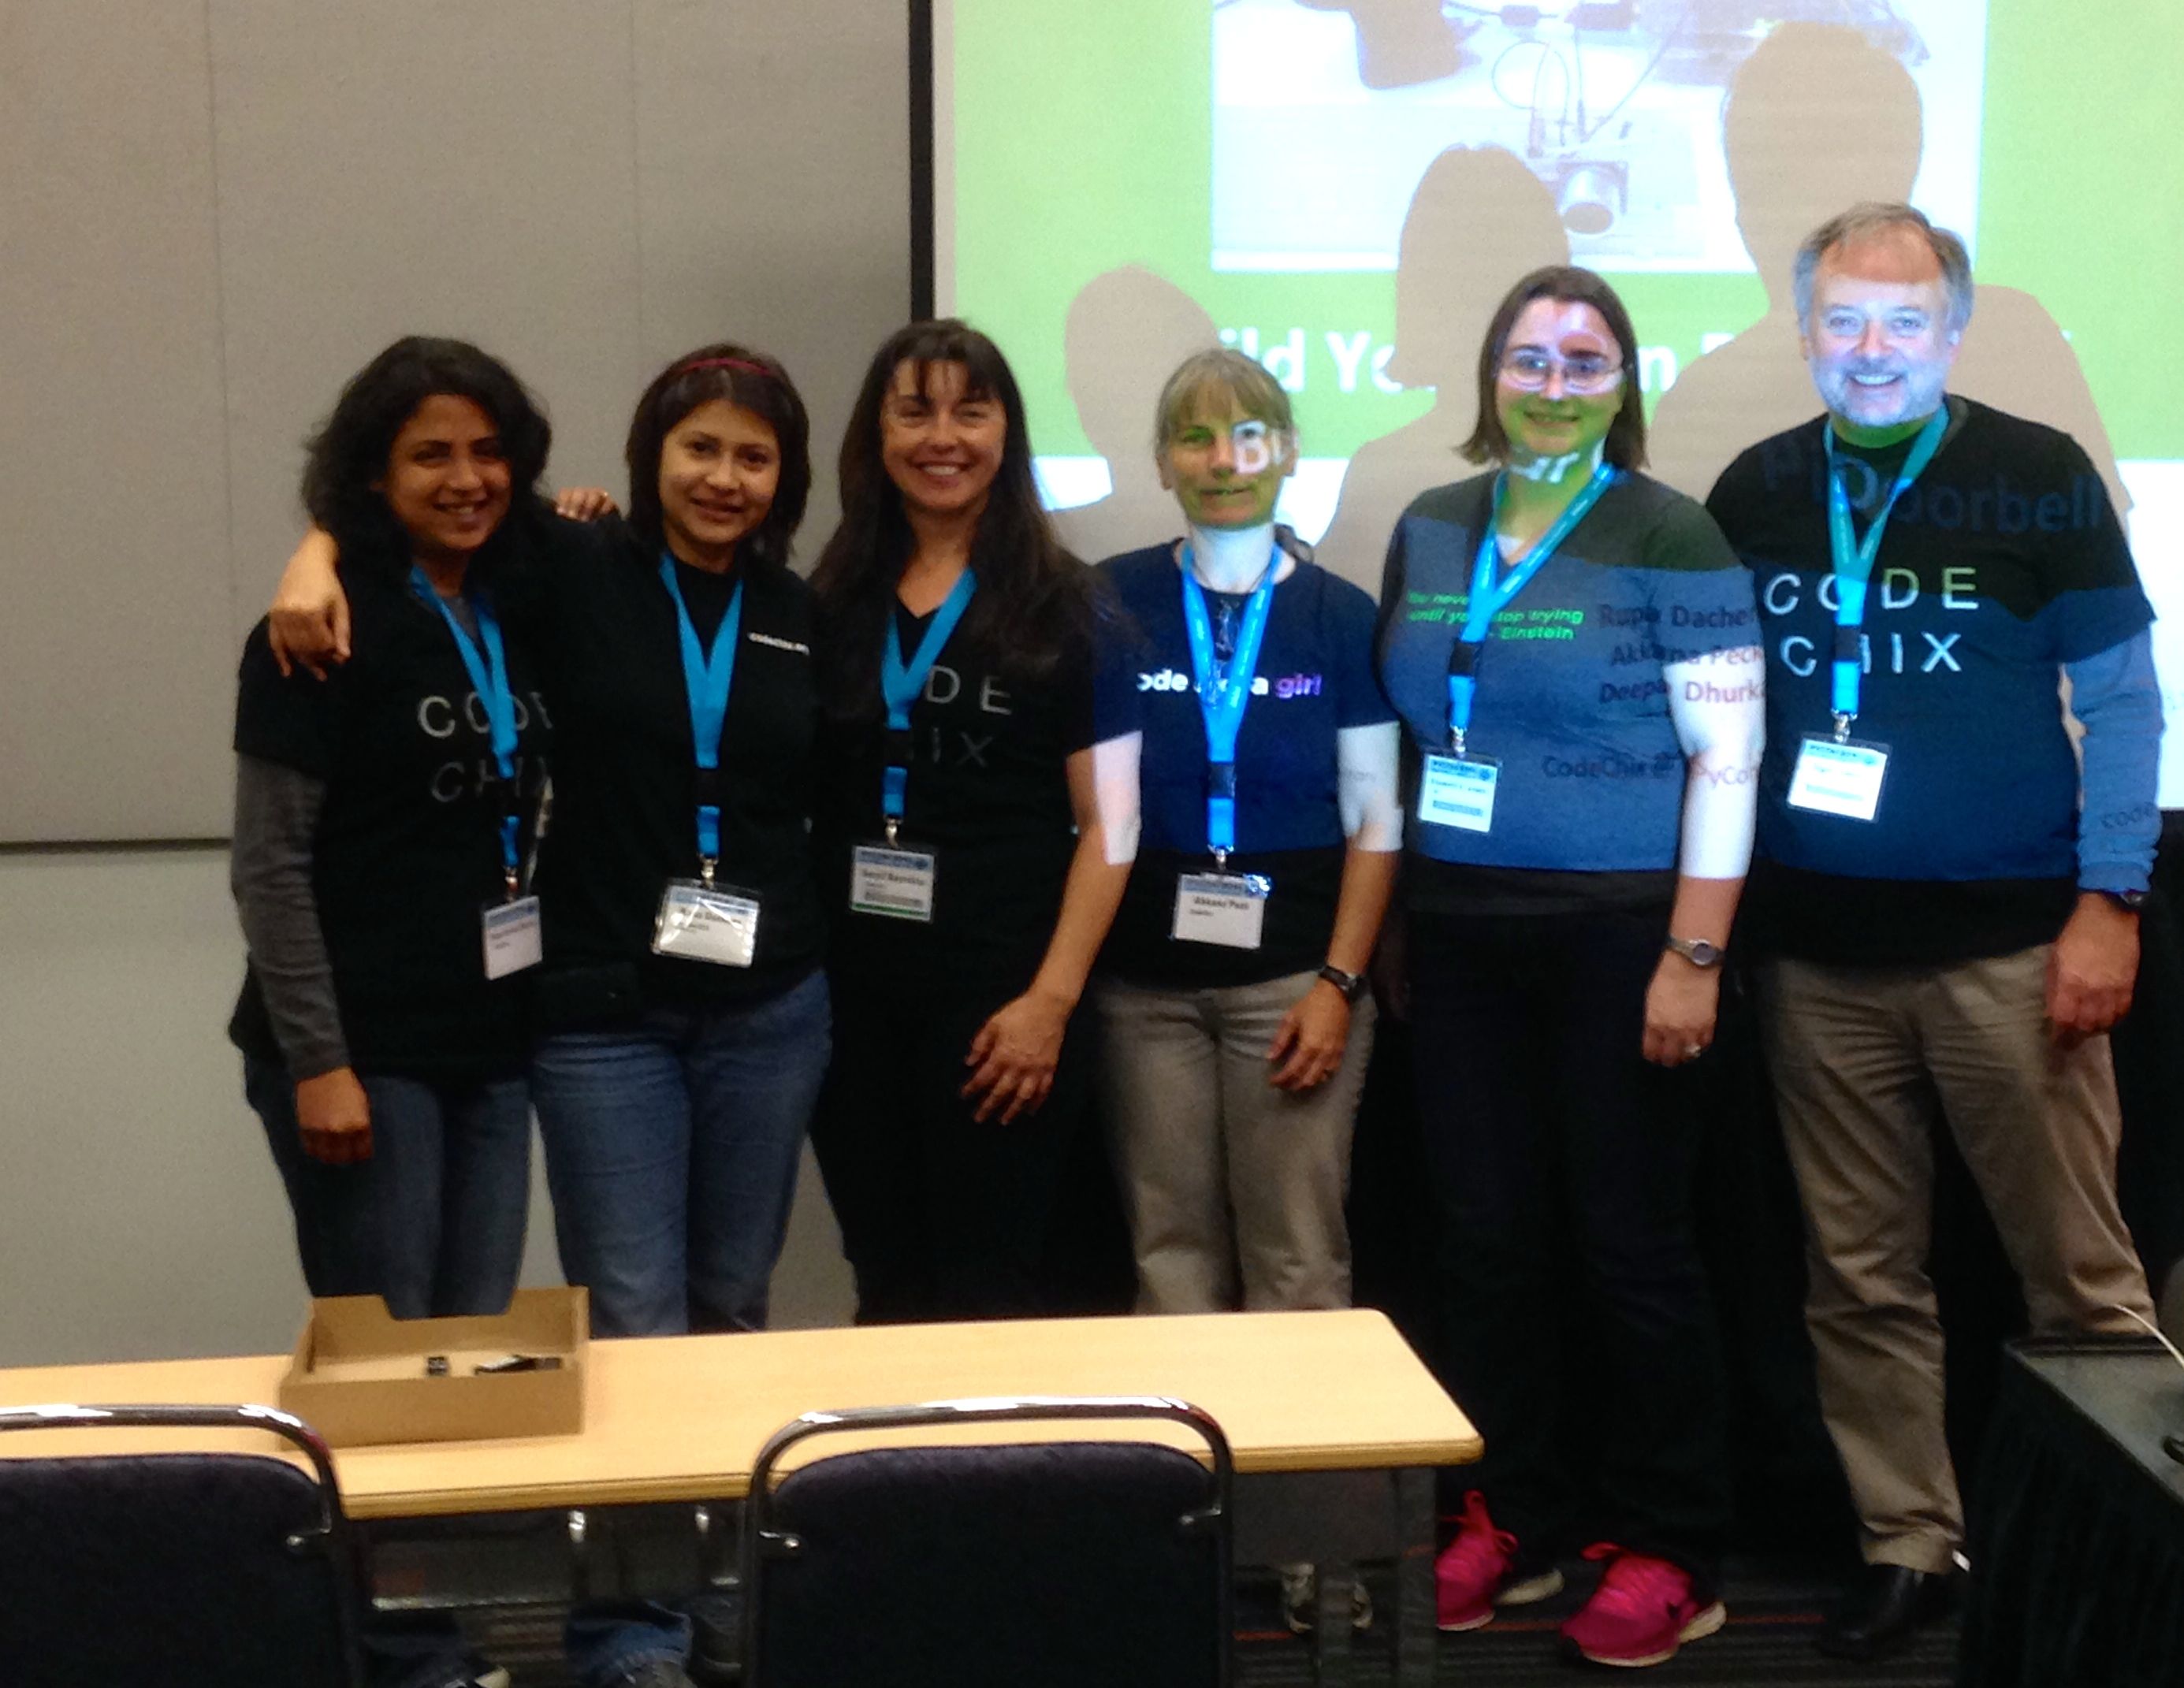
Workshop leads and TAs
The actual tutorial was held on Wednesday afternoon. Attendees quickly piled in and we were able to distribute our kits. Somehow we ended up with a few too many registrants but were able to scramble together a few extra pieces to make it work for everyone.
The tutorial was split into several sections, with the tutorial leads (Rupa and Akkana) giving presentations and us TAs going around and helping everyone with their setups when they got stuck. The biggest challenge for most was getting their system to talk to the Raspberry Pi, as we had folks on various operating systems with all kinds of network and USB setups.
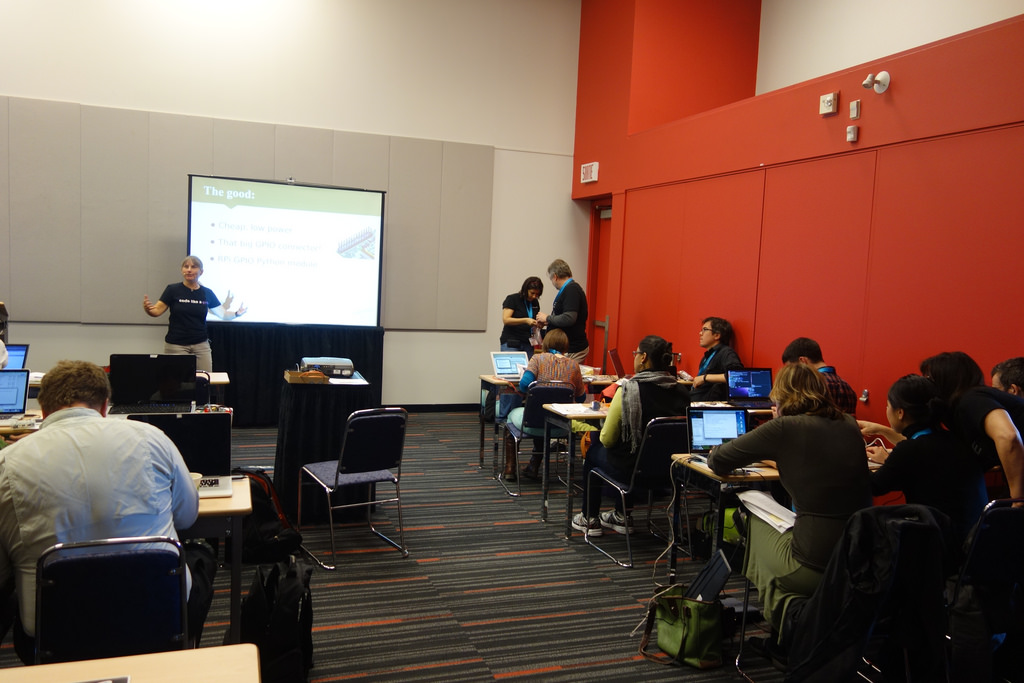
Once we got everyone talking to the Pis, it was time for the fun stuff! Akkana gave a great presentation that was a tour of the hardware of the Raspberry Pi, including the setup of the GPIO pins configuration. For more about some cool hardware stuff she’s been doing with the Pi, I highly recommend her blog posts on the topic.
Then we had an led.py script to allow folks to make an LED blink:
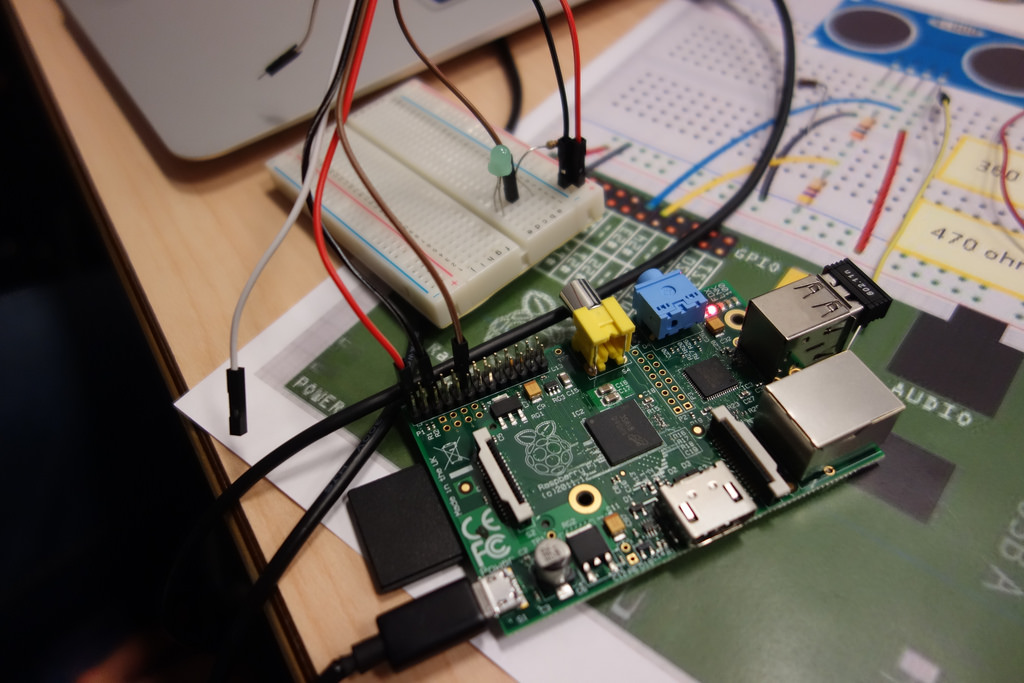
As you can see, we’re using solderless breadboards so we didn’t have the complexity of soldering, thank goodness.
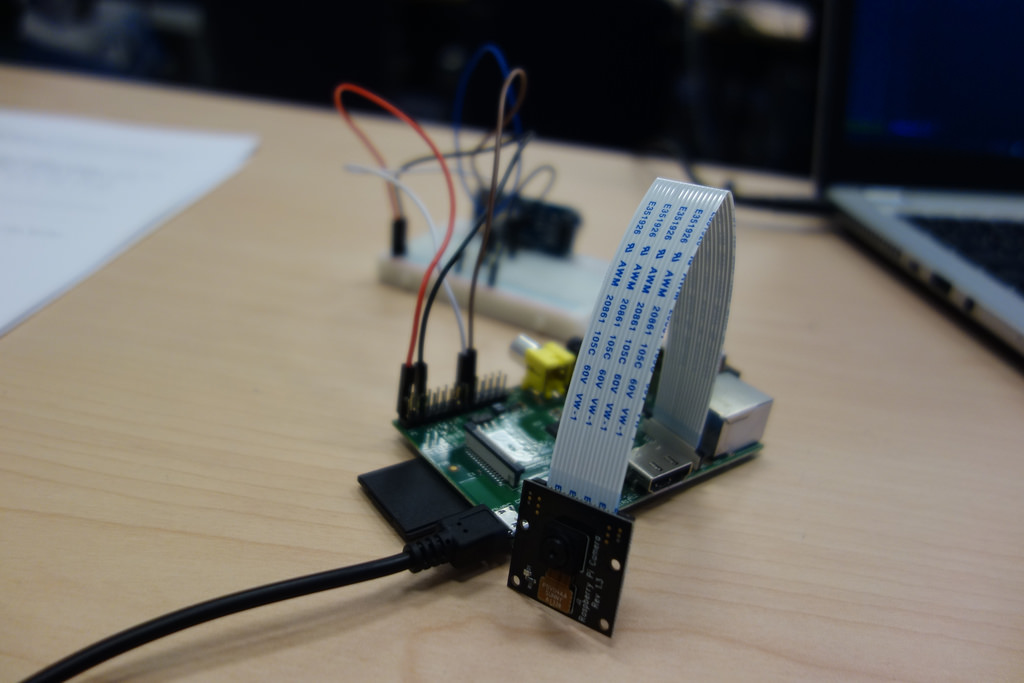
Then came the meat of the tutorial, wiring up the distance sensor (and camera if they had one) to actually detect when objects passed and take a photo. I brought along both my Raspberry Pi NoIR Camera Board – Infrared-sensitive Camera and my webcam from my desk at home so attendees could play around with them if they didn’t have ones of their own.
The last step was using Dropbox and Twilio to have a space to upload the photo to and then send out a notification.
Surprisingly for a hardware tutorial with such a diversity of host systems, I’m happy to report that most of the students were able to get the tutorial fully completed – at least to the point of taking pictures, if not the upload and notification portion. It was a lot of work for us TAs as we ran around helping everyone and debugging serial and networking issues, but it was worth it to see how much fun everyone had when they finally got an LED to blink or took their first picture.
All of the slides and source code is freely licensed, but the repository hasn’t been made available yet as Rupa wanted to fix some important bugs first (can’t have people frying their Pis!). But never fear, I’ll be following up to make sure it’s made available as soon as possible so others can do this too!
I’ve uploaded more photos from the event here: https://www.flickr.com/photos/pleia2/sets/72157643750475463/